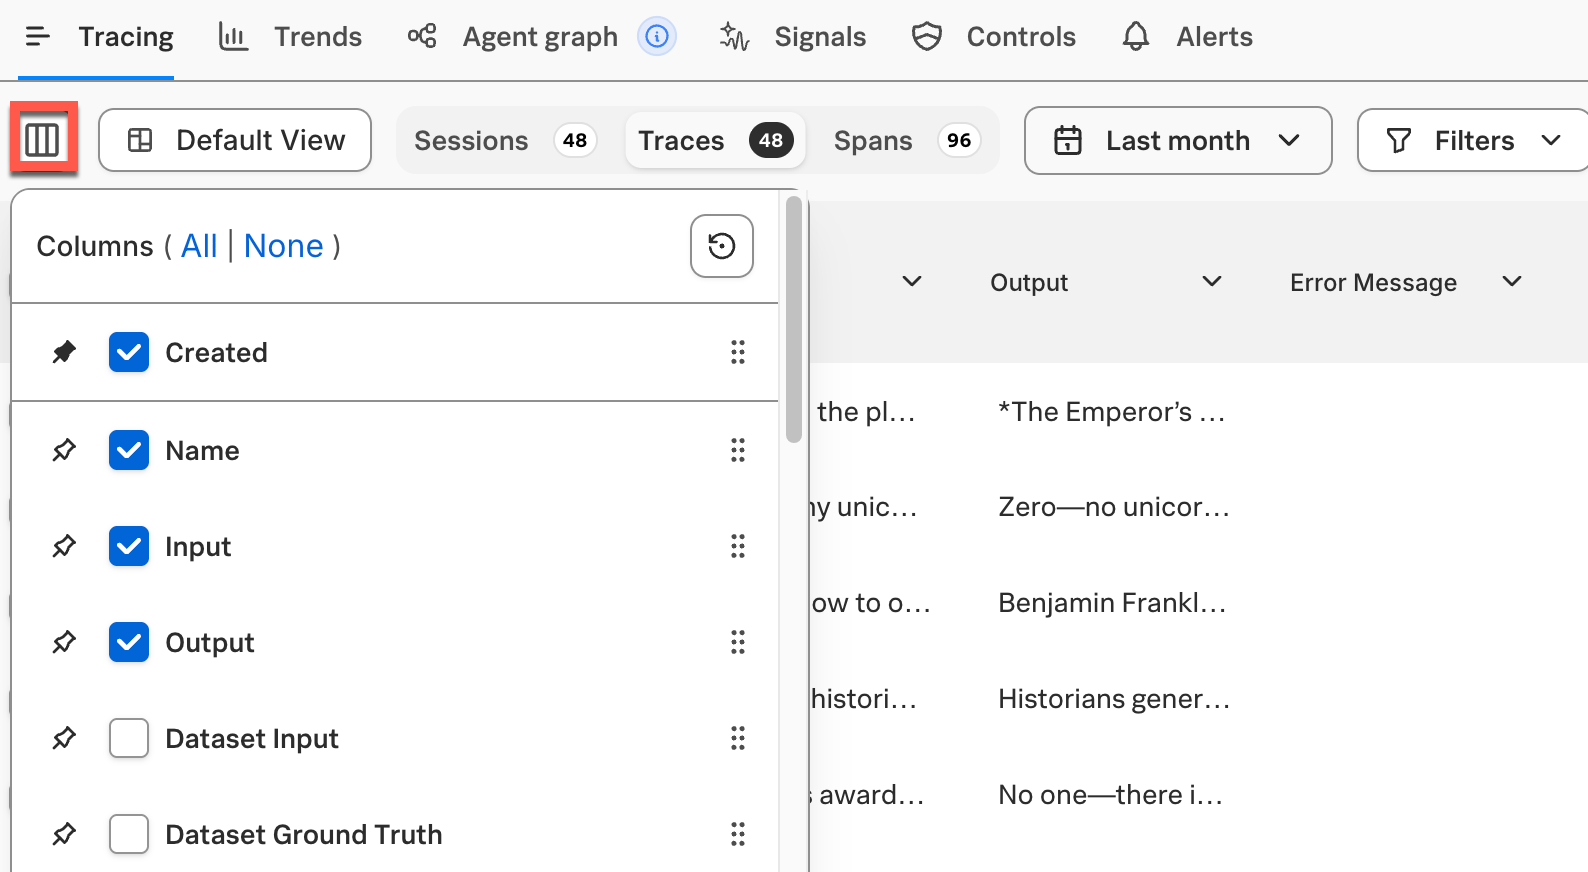
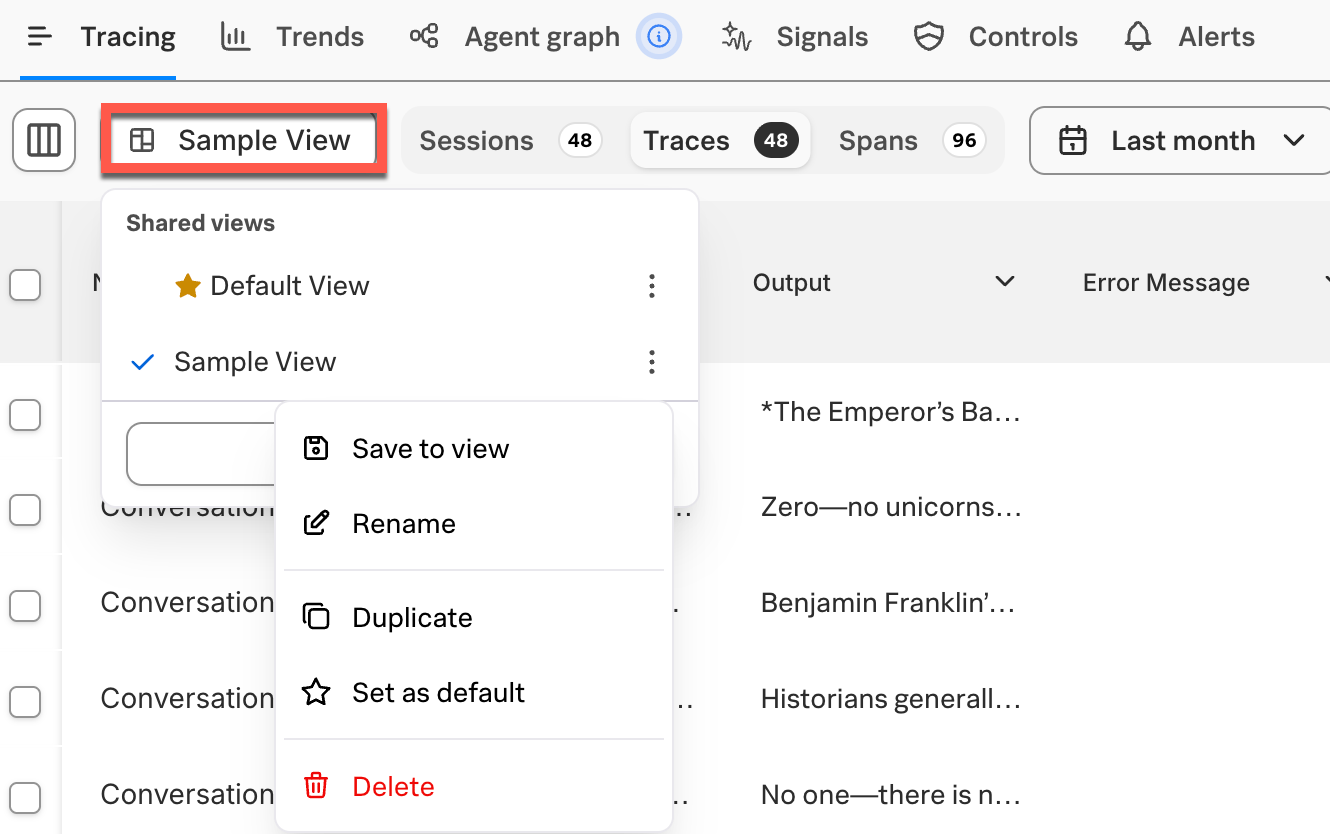
- Which table columns are displayed.
- The order that table columns are displayed.
- The filters applied to the table.
- On-premises
- SaaS
Create a view (On-premises)
To create a view from an Agent Stream or experiment:- From the Splunk Agent Observability main menu, select a Project. Select an Agent Stream or experiment.
- Select the table customization icon and update the columns as needed.
The following screenshot shows an example of creating a view from an Agent Stream, but the same process applies for experiments.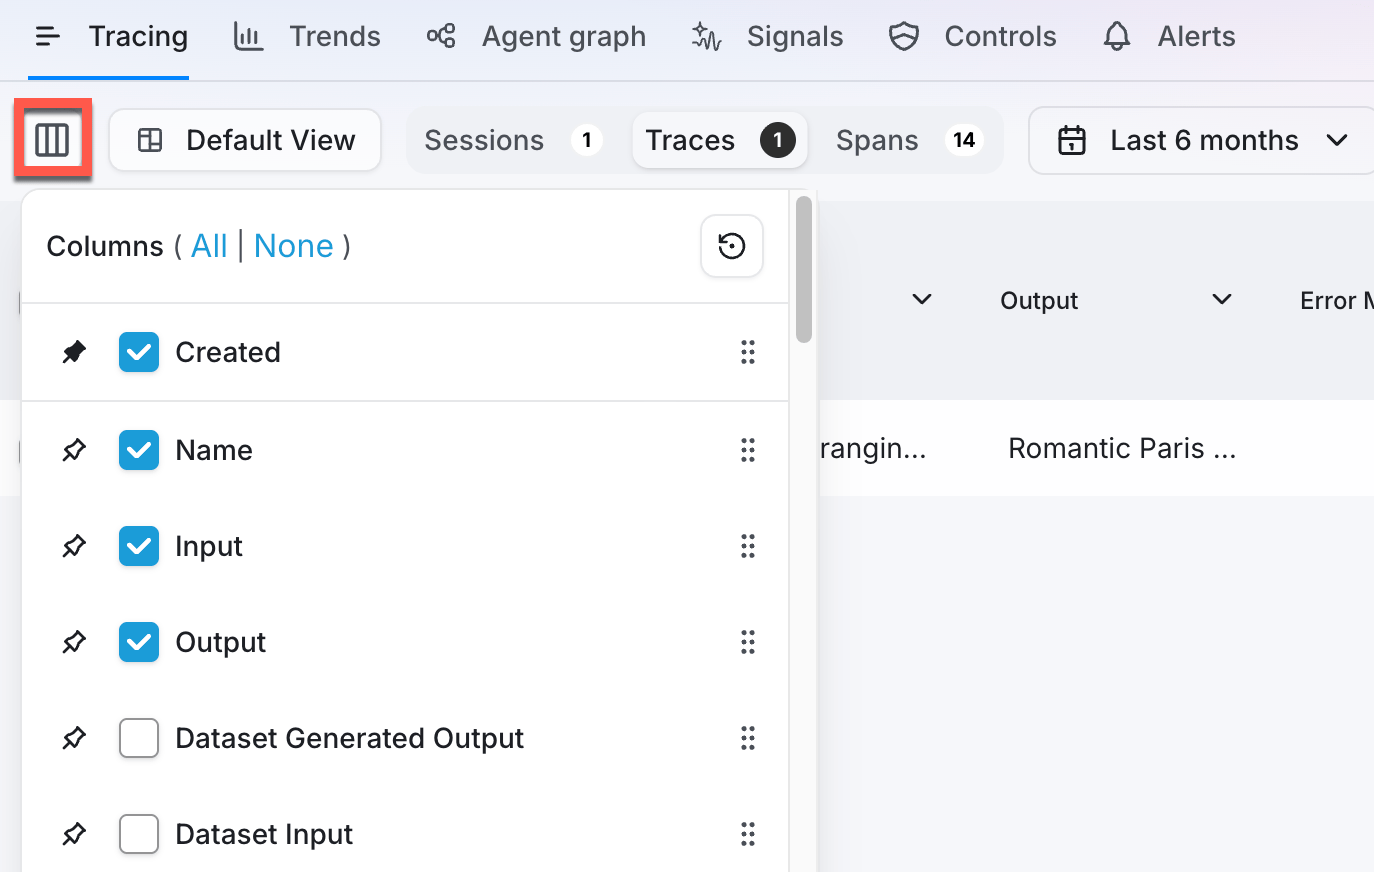
- Select Default View, then Save New View.
- Follow the on-screen instructions to set the view name, description, and access level. Private views are only visible to you, while non-private views are visible to all project members.
Manage a view (On-premises)
To manage a view from an Agent Stream or experiment:- From the Splunk Agent Observability main menu, select a Project. Select an Agent Stream or experiment.
- Select the view name, then select the actions (…) icon next to the view you want to manage.
The following screenshot shows an example of managing a view from an Agent Stream, but the same process applies for experiments.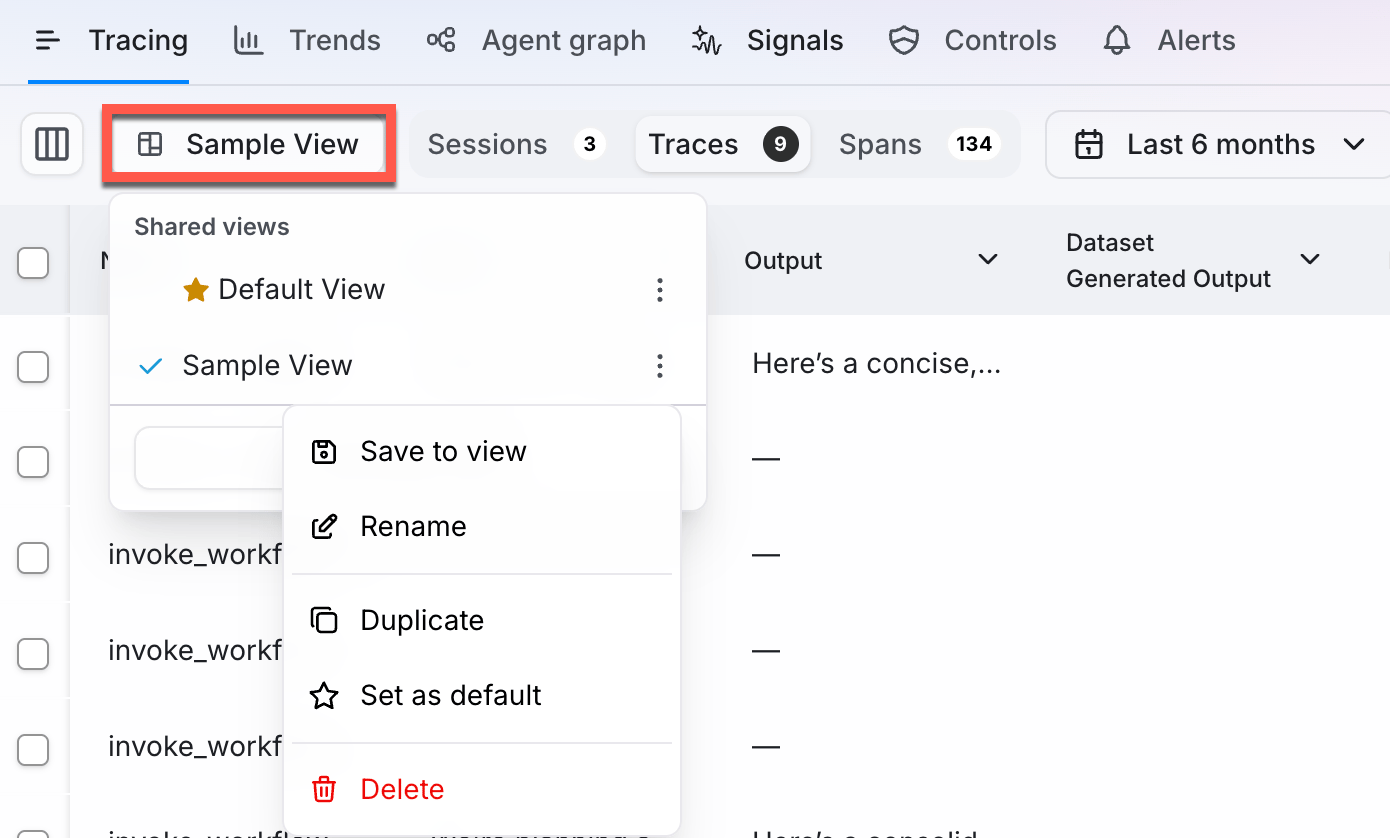
- Follow the on-screen instructions to manage the view.